Find out how to make a perfect French braid, single, double, or crown. A few quick and easy moves for a flawless summer look!
The French braid, which collects all the hair starting from the attachments, is one of the most requested trendy hairstyles. The process of making it may seem complicated but, once learned, it will become almost mechanical. The hairstyle is modern, easy, and quick to make, perfect for fighting the summer heat: let’s see together how to make a French braid yourself!
1. French braids tutorial
You will only need to make a French braid behind the head is a rubber band: you will only need it to secure the braid once finished.
- Start by combing your hair, then take a section of the hair in the middle and back. The roots of the hair that form this section must be aligned, and the width of the area must be approximately 7 centimeters.
- Then separate this section into three strands and start intersecting them as for a regular braid.
- As you go down with the braid, add other sections of hair to the strands.
- At each intersection, add more hair to the braid. As you go down to the nape of the neck, you shouldn’t have any loose hair left.
- Once the braid is finished, stop it with elastic, and here is your French braid!
2. How to make two French braids
To make two French braids, the procedure is the same.
- First, divide the hair and stop one of the two sections with an elastic to not hinder the process.
- Take a small section of the hair that you did not tie in with the elastic. From the top (i.e., at the row’s height), divide this section into three small strands and start crossing them.
- After two crossings, start adding the remaining hair a little at a time and a little by strand.
- Then continue to braid until you have added all the hair to the braid.
Repeat the same process on the other half of the hair, and here are your two French braids.
If you want, you can also join the two braids forming a single one: you have to stop in the middle of the two braids and then join them. From six strands, you will then have to form three. You can then proceed to cross the locks of hair as for a regular braid.
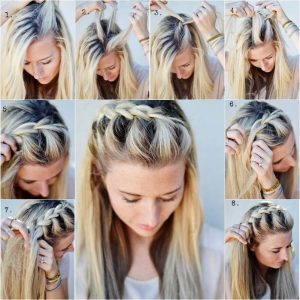
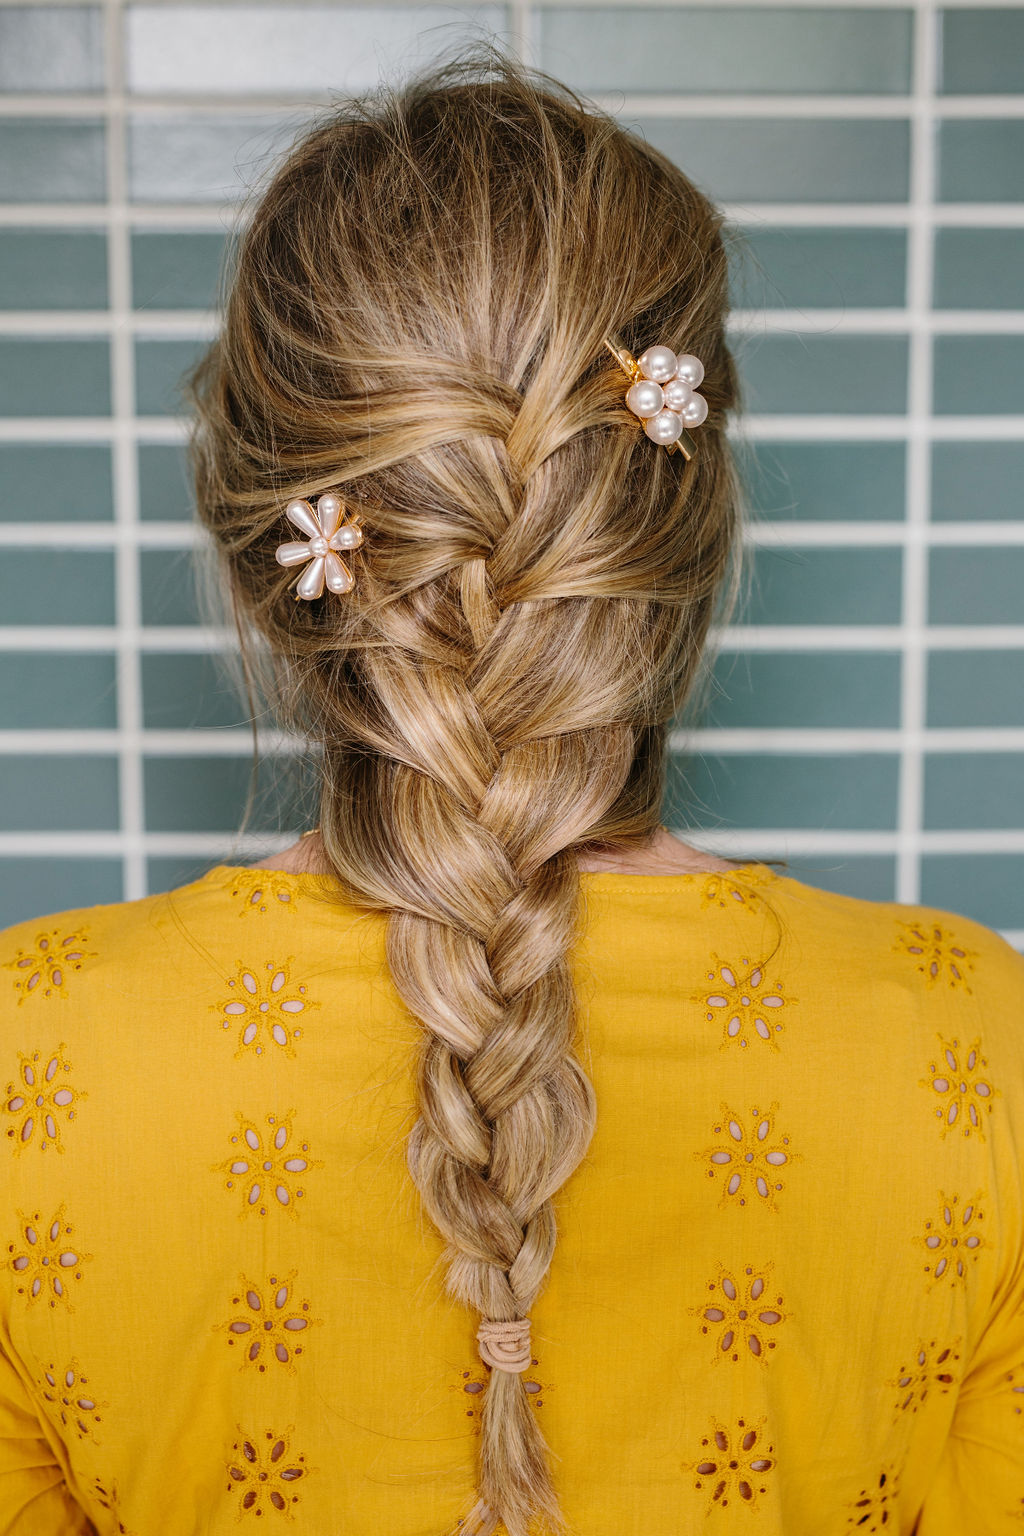
3. Side French braid
As always, start by combing your hair very well: the hair must be smooth and soft for the braid to look good.
- Take a small lock from the side of the garment you prefer and divide it into three.
- As you braid, add more strands of hair to the braid. Part of the hair will inevitably remain loose, but don’t worry.
- Once the braid is brought to the center, secure it with a small elastic.
- Then take the hair that remains loose on the opposite side of the head and overlap it to the elastic.
- Start crossing the locks again as for a regular braid.
- Arrive at the end, close the braid with an elastic.
The two overlapping braids will create the illusion of a single large side French braid.
4. French braid hairstyles
The French braid is very versatile, and you can use it to create many impactful hairstyles. By creating a small side French braid, you can then fix it on the opposite side of the head as if it were a chaplet. You can do the same by creating two French braids on the sides of the head: if the braids are small, you can wrap them around the head and fasten them behind the head. In can also create a French braid only at the base of the hair and then drop the rest of the strands into a ponytail, or make a half-French braid and leave the rest of the hair loose.
In short, this type of hairstyle can be reworked in many ways: therefore, space for imagination and creativity!
This way, you will create another chaplet.
Also read: How to change google password.