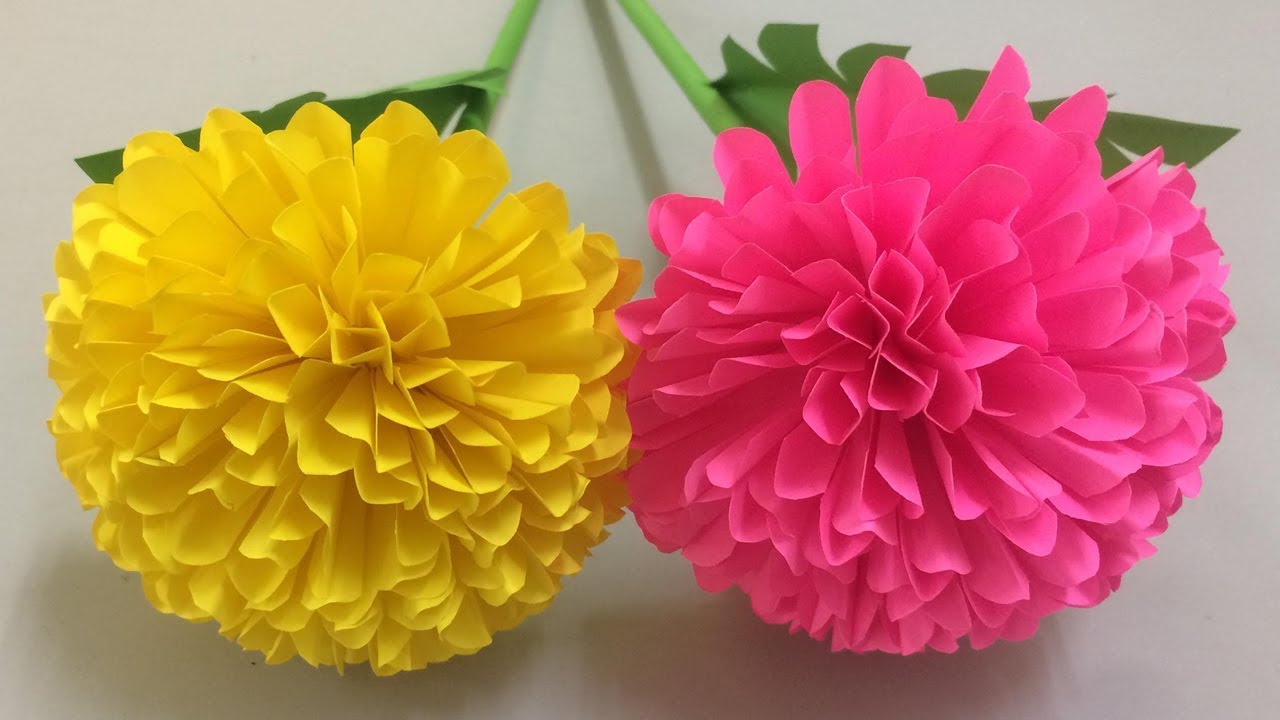
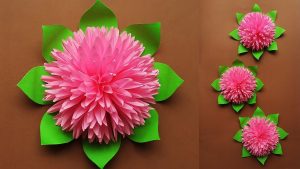
These flowers will never fade. Let’s make colourful paper flowers and give them away to friends and acquaintances. A bouquet also decorates every coffee table or garden. We will show you instructions to quickly make a colourful bouquet out of paper.
How to make paper flowers?
Beautiful paper flowers that never wither. What more do you want? In these instructions, we will show you how to make paper flowers. Have fun!
As a present for Mother’s Day or decoration: Colorful paper flowers are always a good idea. Many types of flowers can be recreated as origami flowers. The beautiful flowers can be designed in a particularly colourful way and radiate joy. Children, in particular, are happy when they can fold their flowers out of paper and bring them to their grandma as a gift.
Making origami flowers out of paper is not witchcraft. With our origami instructions, the beautiful flowers are folded in no time. Let yourself be inspired by our instructions for tulips!
Simple and beautiful flowers made from paper
This origami flower is an excellent decoration for the home. The idea behind this flower: It is assembled from five individual parts. Children also understand our instructions quickly and can fold their flowers.
Necessary material for this origami:
- A handicraft pad
- Five square folding papers in different colours
- Liquid glue
- Different brackets
Tinker beautiful paper flowers step by step:
To be able to make these paper flowers, the petals must first be folded by yourself. If you choose patterned paper, turn the pattern side down.
- Fold a diagonal to fold the right and left corners of the triangle toward the top tip. Open the structure again.
- Slightly open the right corner of the triangle and press flat. Smooth out the fold lines with your fingers. Repeat this step on the opposite side.
- Fold the top tips of the small trapezoids downwards. Fold the outer edges of the trapezoids together.
- Spread the liquid glue on the remaining areas and glue the sides together. The first petal for the paper flowers is ready. The adhesive surfaces can be fixed with the clamps until they have dried.
- Do the last few steps with the remaining four leaflets and wait for them to dry. The petals are glued together on the outer surfaces.
you need this material: a square piece of paper in your favourite colour
Instructions: Fold the origami flower step by step
- These instructions start with a basic origami shape: You fold two diagonals through the centre. Turn the sheet and fold a vertical and horizontal centerline. Using the resulting fold lines, push this shape together.
- Therefore, place the paper with the open edges facing up. Fold the right edge inwards towards the centre line and open it. Open the fold and fold it into a diamond over the centerline. Fold the two edges on the left and right to the centre line and fold the top triangle down.
- However, repeat steps three and four with the three remaining flaps of the basic shape.
- So, fold the left layer on the front to the right and repeat this on the back by folding the suitable layer of the show to the left. A little more patience. It will do in a moment!
- However, the open tips point upwards. The two lower edges of the front and back fold to the middle on the right and left. So, now comes the highlight! Therefore, now bend the upper open tips outwards and open them to form a lily.
Also read: how to recover deleted Whatsapp chat