Plastering is an essential part of interior designing as it makes or breaks the look of the wall. However, it is a bit of a messy and technical process that’s why people prefer to leave it to professionals. However, plastering walls is not as difficult as it looks. Anyone can do this easily just by following the simple steps provided in this guide. Although you need hands with the right tools and material for this purpose, you are good to go!
This article will give you a complete guide on how to plaster a wall step by step in an easy way by yourself.
Without further ado, let’s get started;
What do I require to plaster a wall?
To plaster a wall, you’ll definitely need plastering material and some handy tools. So first of all, make a list of these tools and materials and buy them to start the process.
Tools to plaster a wall
Protective sheets to cover floor and furniture
Snap off knife
Plastering bucket
Dustpan brush
Spray bottle
Spot board
Mixer drill(optional)
Small paintbrush
Material to plaster a wall
Plastering trowel
Plastering hawk
Plaster
Plasterboard
Ready Mixed Plaster
Insulated plasterboard
Plasterboard screws, adhesive, fixings
If you are using old plastering tools, then make sure they are spotlessly clean.
Easy steps to plaster a wall
Step 1
Prepare the wall before plastering; it’s crucial to have a clean and clear area to work.
Remove furniture, curtain rail, or any decoration piece from the wall.
If there is any socket on the wall, cover it with tape.
Clean and rub the wall thoroughly, This is crucial, as any wreckage resting on the wall will stop the plaster from adhering well.
Step 2
As it is crucial for adhering to the plaster well on the wall. For good application, do read the manufacturer’s instructions written on the PVA glue packing.
Step 3
How to mix the plaster? First, do follow the steps and instructions mentioned on the plaster packing to get a perfect mixture. Moreover, it is recommended that you add plaster to the water, not water to the plaster. Then, mix it well(manually or using a power mixture) to get an uneven and smooth mixture. If you are using a power mixture, use it at a low speed.
Step 4
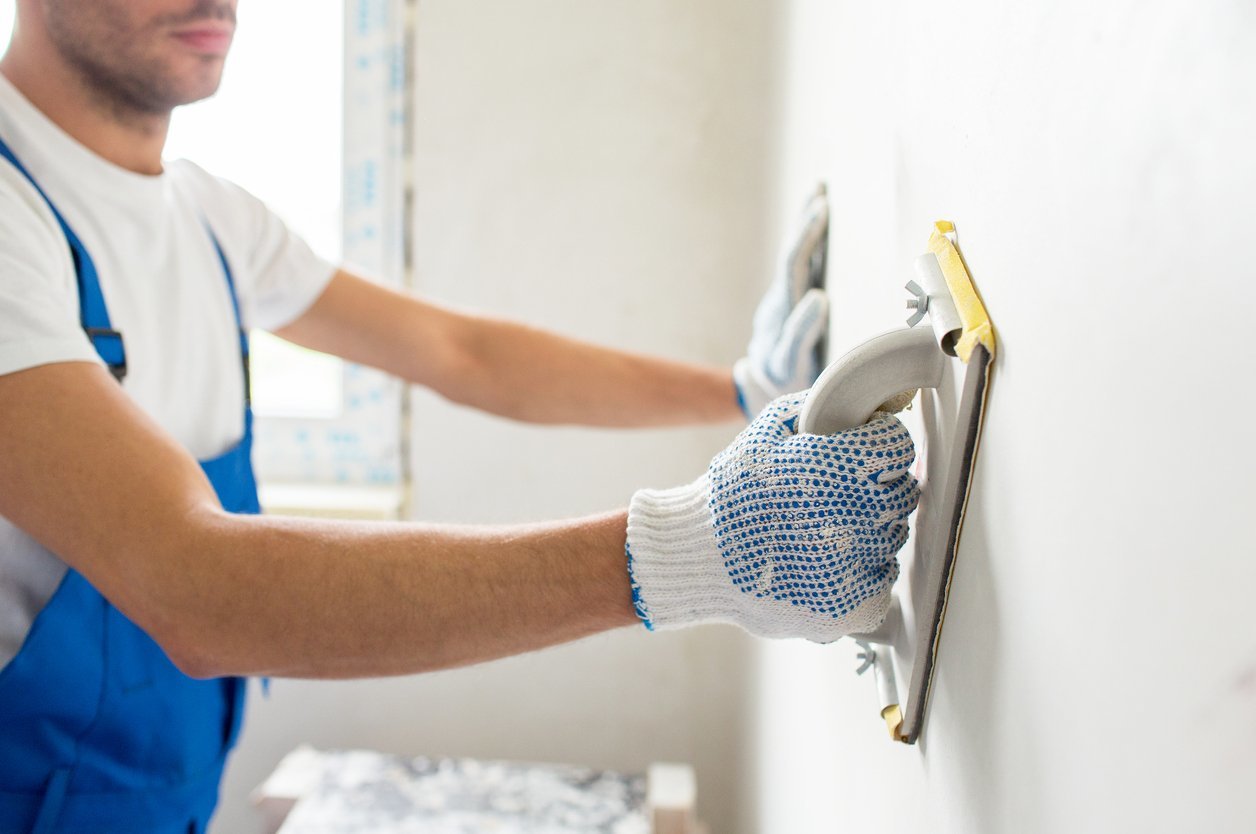
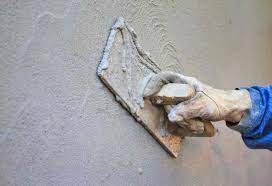
Now the mixture is ready to apply on the walls. Apply the first coat by using hawk board, the trowel and the float. For the first time to make sure you are getting the technique right, try it on the separate plasterboard or a little wall patch.
First of all, using the trowel, place plaster on the hawk board. Then use the float to apply the plaster from the hawk onto the walls. Start from applying bottom to upward and outward direction. To get a smooth and neat look, take a small amount of plaster and apply pressure on the wall. Repeat this procedure to cover the whole wall.
Step 5
Let the first coat dry 30 minutes, and then apply the second coat( For the 2nd coat, plaster should be thin) for maximum finishing. Even out the corner and edging using a wet brush.
However, following the manufacturer’s instructions, let the plaster dry. Once the application is dry, it’s time to polish off your work. Don’t forget to neat and polish off the corners and edges using a wet brush.
Once your plaster is dry entirely, it’s ready to be wallpapered or painted.
Precautions
To stay safe, take the necessary precautions, which are given below;
Use safety goggles to avoid eye contact.
Use a dust mask.
Uses protective gloves to avoid mess.
Use vinyl gloves if required.
Before plastering near a socket, disconnect the electricity.
Also read: How to wire a plug